beltbuckle wrote:Landshark wrote: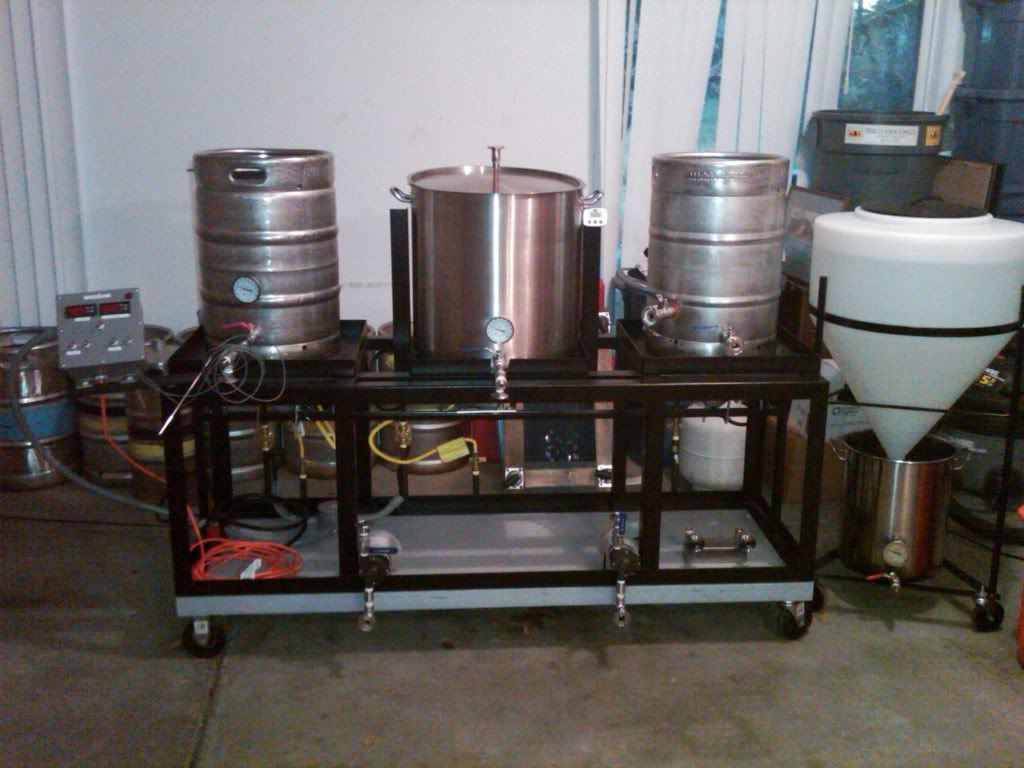
Finally! A picture of the beast. Welcome to my brewery.
Crap res from my crackberry.
Thanks to everyone for help with wiring issues.
-Shark
Nice setup!
Couple of questions - did you make the brew cart or where did you get it? And is the conical on the right a fermenter? How do you like it?
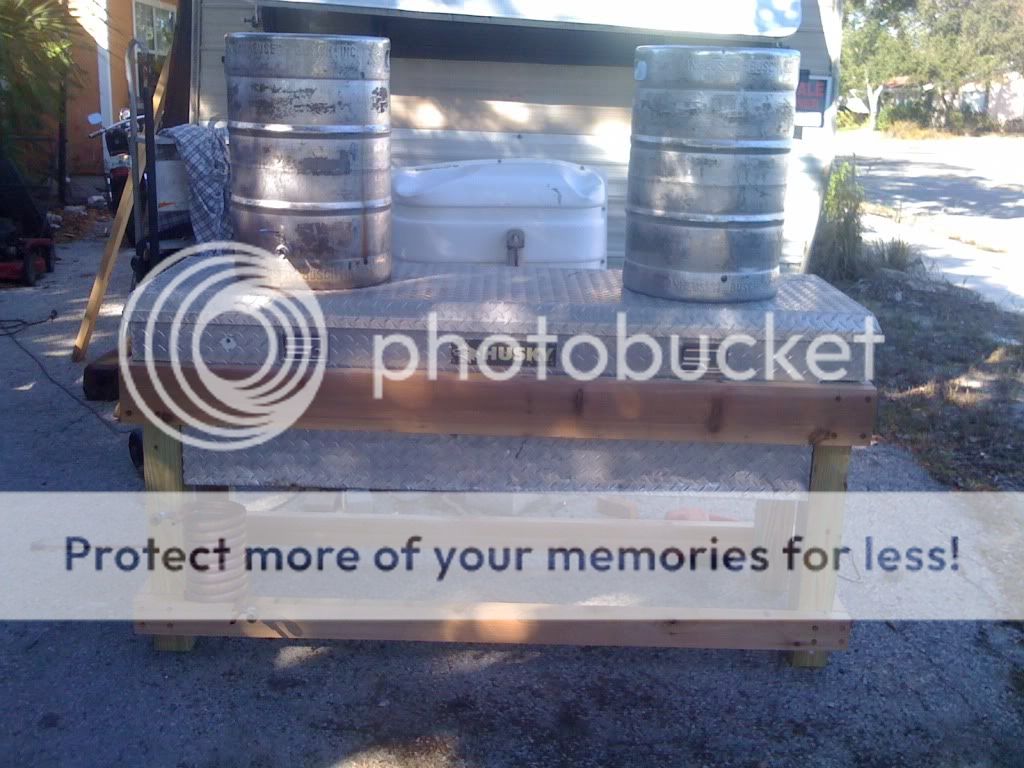
The base frame was built by a neighbor who had access to flat steel stock. He bent the 4in pcs into 2x2 and welded up the base frame. The trays are removeable (20x20). Basically they are sized for the Morebeer 26gal pots. The middle tray is hinged so it can act as a tippy dump between the "goal posts". The platform is simple 2x4 with treated sheet. Picked up the casters at Harbor Freight. Powder coat paint is not holding up well to the heat. Eventually, I will sand and paint with some high-heat Krylon.
The 30gal conical is from US Plastics. I've attached a stainless tri-clamp fitting on the bottom w/ ball valve. So far it works great. No issues. Easy to clean with hose, PBW and then starsan which stays in the vessle until I go to fill.