spiderwrangler wrote:Would removing the heads from the straw manually then feeding them through the thresher until the come out clean be more time/labor intensive than how you are currently doing it?
It would be about as time-consuming as what I'm doing right now. See below!
Almanac recently let me know that their brewday is August 8! Oh boy, it's time to cram in a lot of malting.
Actually, rewind -- it's time to finish the threshing! When I got the email from Almanac, I had only threshed 16 lbs! I've now worked my way through the whole field, and it produced 175 lbs of Conlon 2-row.
The trick was not trying to get every last grain. Previously, I was separating out each bundle and getting all the heads. I switched to spreading the bundles out on a tarp and stomping them en masse:
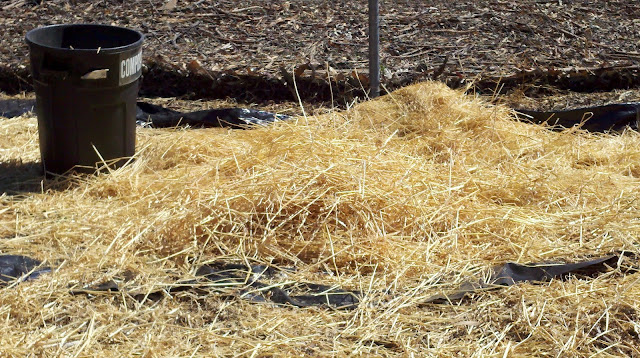

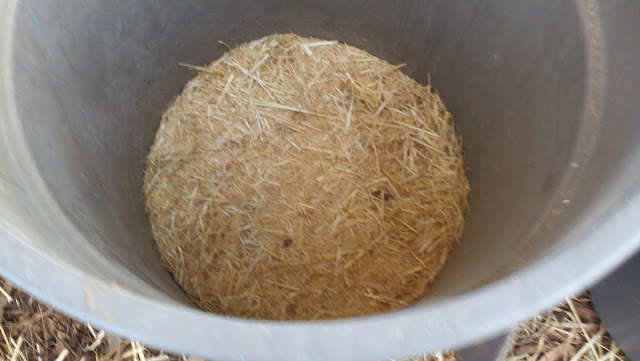
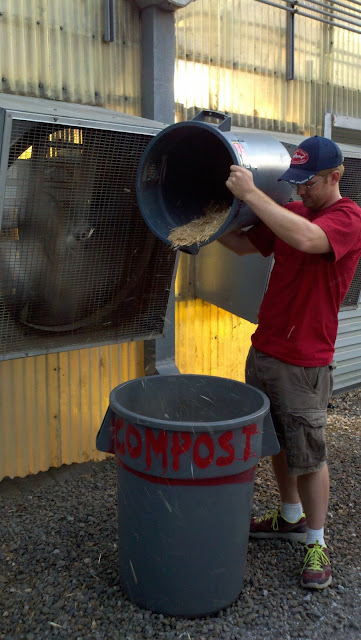
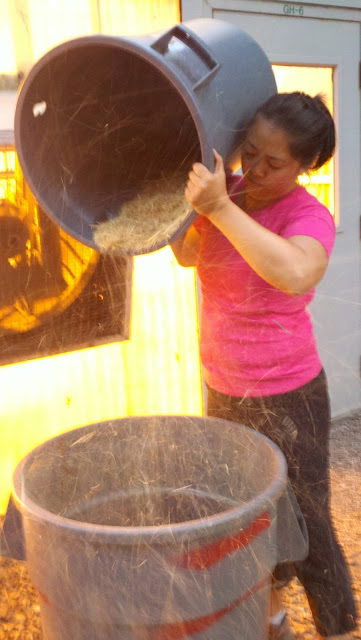
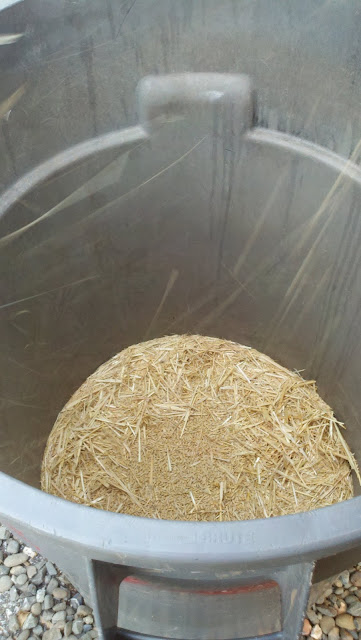
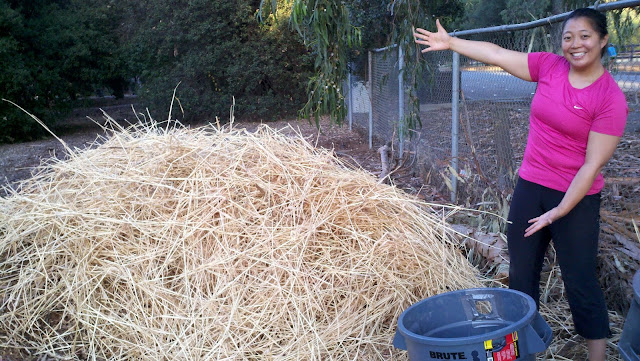
But even this was pretty slow. Now I'm taking the whole bundle of grain, shoving it head-first into a plastic pail, and using my hands to tear off the heads that are exposed. I don't untie the bundle, and I don't go after any heads on short late tillers. With this technique, my speed went up tenfold to about 10 lbs/hour. The efficiency has dropped a bit -- I know because I can see heads that I have missed, and they are everywhere!
But hey, I'm done. I have a feeling that even people who grew grains for a living before industrialization didn't go after every last head of grain. They threshed on the dirt by dragging a wooden sledge over their grains with a donkey. Surely some grains were lost during this process, and surely some grains were never separated from the plants. I am convinced that threshing is like any other industrial process -- you balance throughput with accuracy, pick some point you're happy with, and call it a day. I just don't have 180 hours to put into it -- I barely even have 18, so I went for speed.
Now, on to malting. The first step is to wash the grains. I put them in plastic buckets and turn on the carbon-filtered water:
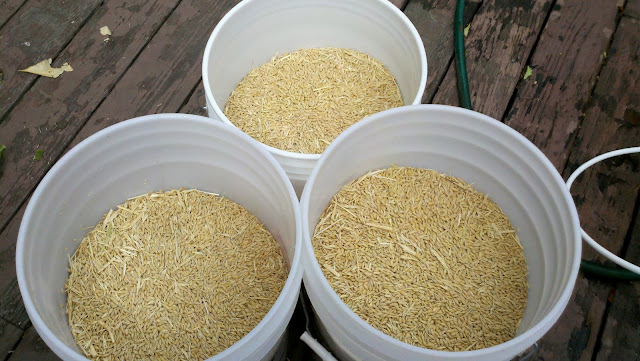
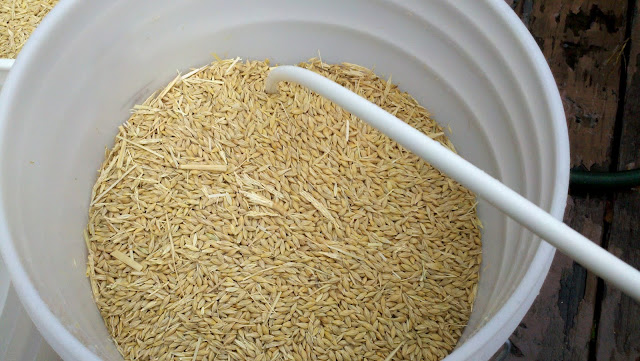
This washing step cleans the dust and dirt off the grains, but it also serves as the last stage of winnowing. There is a ton of chaff that didn't blow away -- it now easily floats to the top of the water while the grains sink:
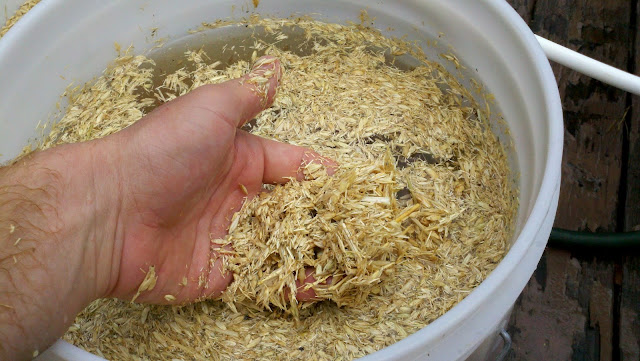
Unfilled grains also float up along with the chaff. You just skim it off the top:
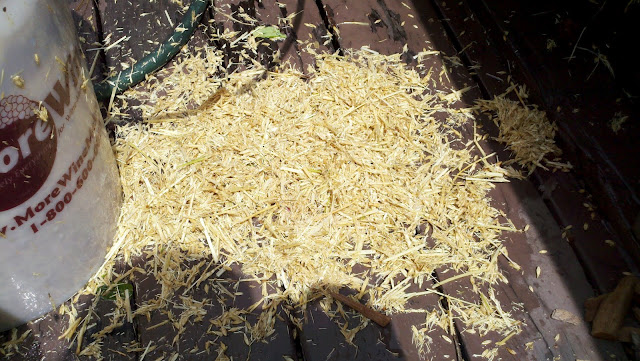
Eventually you're left with grains, very small pieces of chaff, and dirty water. You can pour off the chaff + water and wash the grains 2-3 more times:

The water should be clear after the last wash. A little yellow color from the grains is okay, but any turbidity in the water is dirt that you haven't washed away yet. Keep on washing until the water turns clear.
The next step is to soak the grains for about 24 hours total without depriving them of oxygen for more than 8 hours at a time. Sound tricky? One potential way to do it is to bubble air through the soaking water:
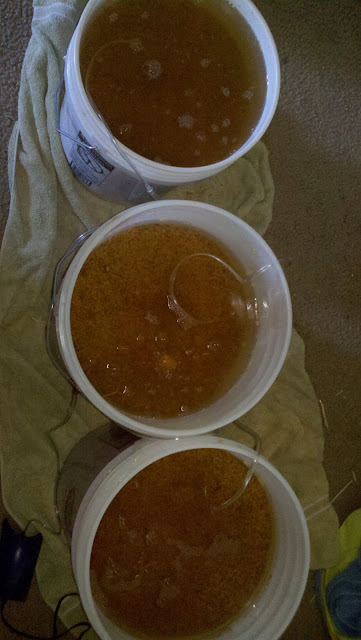
This is what commercial maltsters do, but I have since stopped doing it. I am worried that some grains may have suffocated in the first batch, maybe the grains that were stuck down in the corners at the bottom of the buckets. To be very sure that the grains get enough oxygen, I just drain the grains after 8 hours of soaking by dumping them into a keg tub with a crack in the bottom. It works like the biggest colander I've ever seen:

After an 8 hour soak, the grains should get at least 6 hours of breathing time, and more is okay. Total soaking time should be 24 hours, so they need three soaks of 8 hours each. Make sure to use water you would brew with, because any solids in malting water (like chloramines!) will make their way into your beer.
By the end of the last soak, the grains should all have rootlets beginning to emerge from one end, and the grains should be soft enough that you can crush them with your fingernails. They should have about the consistency of an unchewed stick of gum. Not bazooka joe (hard as a rock), and not trident (pretty soft), but maybe more like the consistency of old-school juicy fruit. Definitely not mushy, but...compliant. That's the texture you're shooting for. If you bothered to weigh a sample before and after the soak, you should be looking for a moisture % in the upper 40's, calculated by (wet weight - dry weight) / wet weight.
Now the grains should continue to germinate outside of water for several days. They will be generating heat and carbon dioxide during this time. To allow both to escape, the grains need to be in a relatively thin layer -- 6 inches deep at the most. I began by lining a large cardboard box lid with a garbage bag and putting the grains in it:
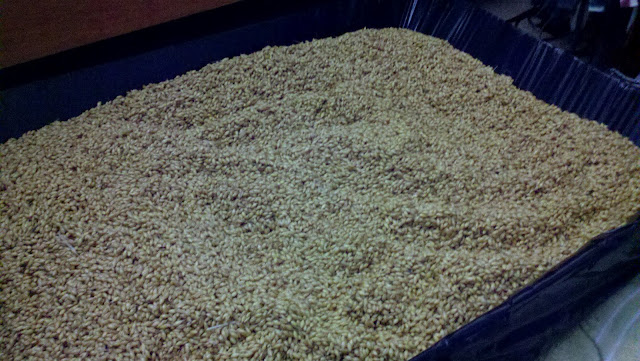
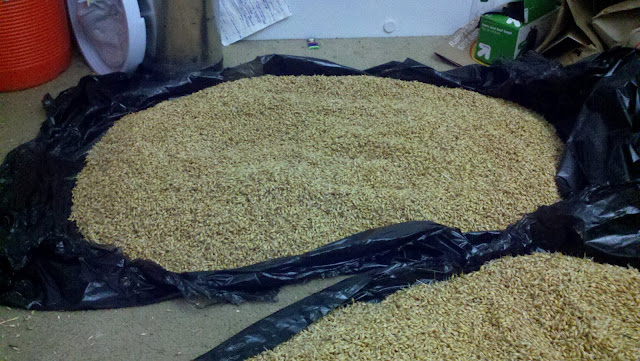
This may have actually been okay, but laying the garbage bag on the floor and putting the grains in a pile in it works equally well:
One thing is for sure -- that first batch of malt was not right.
It didn't smell right. That was my first clue that something was wrong. During the first few days of germination, when rootlets are first emerging, the malt is called chit, and it should smell like fresh cucumbers. As the rootlets grow, the malt switches to smelling more like alfalfa sprouts -- a pleasant but decidedly vegetal aroma. As the shoot (locked inside the hull) makes it way toward the end of the seed, the malt can begin to smell slightly earthy, like wet loamy dirt. It can even have a slightly sour note to it like fertile soil sometimes does, but it should never smell unpleasant or rotten.
I believe that I accidentally killed some grains during the soak for the first batch, because in addition to the normal aromas, the malt occasionally smelled like farts, and toward the end, it had a distinct rotting garbage smell to it. So wrong. To top things off, the entire batch began showing the fruiting bodies of white and blue/green molds just as it was finishing up, with the accompanying putrid smells. Needless to say, I threw it out, all 69 lbs of it! So sad!!!!!
I have malted grains successfully about 10 times now. But I've never malted 69 lbs at once. I should have practiced at that large scale with the inexpensive 2-row that I buy from Colorado Malting Company. Man, I sure would have minded throwing out 69 lbs. of that 2-row a lot less than I did throwing out my hard-earned grains.
I haven't completely identified what the problem was, but I have fixed it. The current batch of 60 lbs. of malt is going beautifully:
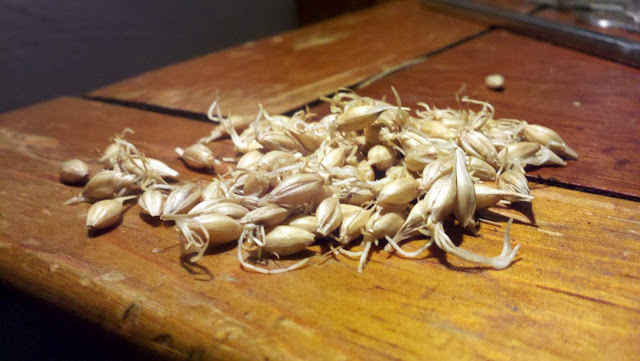
Moving on! How do you know when the grains are done germinating?
The rootlets stick out of the grain, and their presence tells you that the malting process is working. But rootlet growth is affected by things like moisture content and the type of material the rootlets are growing into. For example, the rootlets in contact with the plastic liner always tend to grow longer. You really shouldn't pay any attention to the rootlets as an indicator of malt conversion.
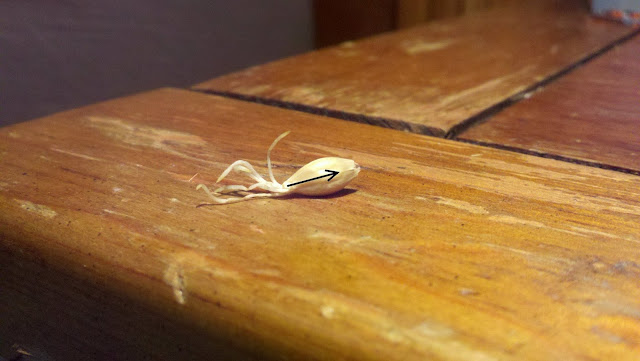
Instead, you should be watching the shoot, called the acrospire, which is visible underneath the husk. You don't need to slice open grains or tear them apart to see the acrospire. You can judge the length of the acrospire through the husk. Check it out; this grain's acrospire has grown to 75-90% of the total length of the grain:
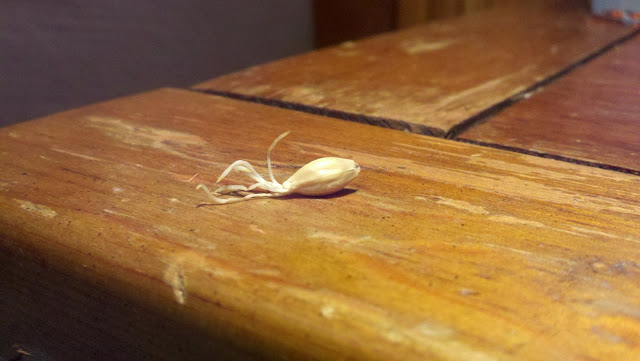
You can see it as the elongated lump that extends from the rootlets in a straight line to the other side of the grain. I layed an arrow over the acroscpire to show its location and length:
This grain's acrospire has grown to over 100% of the length of the grain, and it has just begun to poke out the other side:


Once you look at 10-20 grains, you will begin to be able to see the acrospire's length every time. Now, if I were making Pilsner malt, I would stop the entire batch right now by drying. 75% of the grain's length is long enough for the acrospire to grow for Pilsner malt.
But I'm making caramel malt for Almanac. For caramel (crystal) malt, you don't need to worry as much about the consequences of overmodificaiton (high free amino nitrogen). Still, this batch is almost done. When the acrospires of most grains get close to 100% of the grain's length, it is fully modified.
(BTW, most of the advances in malting that the British accomplished, allowing for efficient single-infusion mashing, were actually genetic changes in malting barley strains that cause the grains to be highly synchronized in their germination. In nature, some grains should sprout early while others wait, hedging their bets in case there is a late frost. As you might guess, this trait leads to more than a few undermodified grains, requiring a decoction. But all of our malting grains today, including Conlon, have been selected for synchronous modification.)
I will probably stop this batch tomorrow by spreading it thin and turning a box fan on it. This won't dry the grains completely, but it will slow down their growth enough while I take them through the next step, which is unique to caramel malts: converting starches to sugars in the husk. More on this when I know whether my current method for taking grains through the 68C temperature rest works or not!


